100 Days of SwiftUI
2026-06-05
Project 9, part 4
Navigation wrap up & challenges
Quiz: 12/12
Challenges
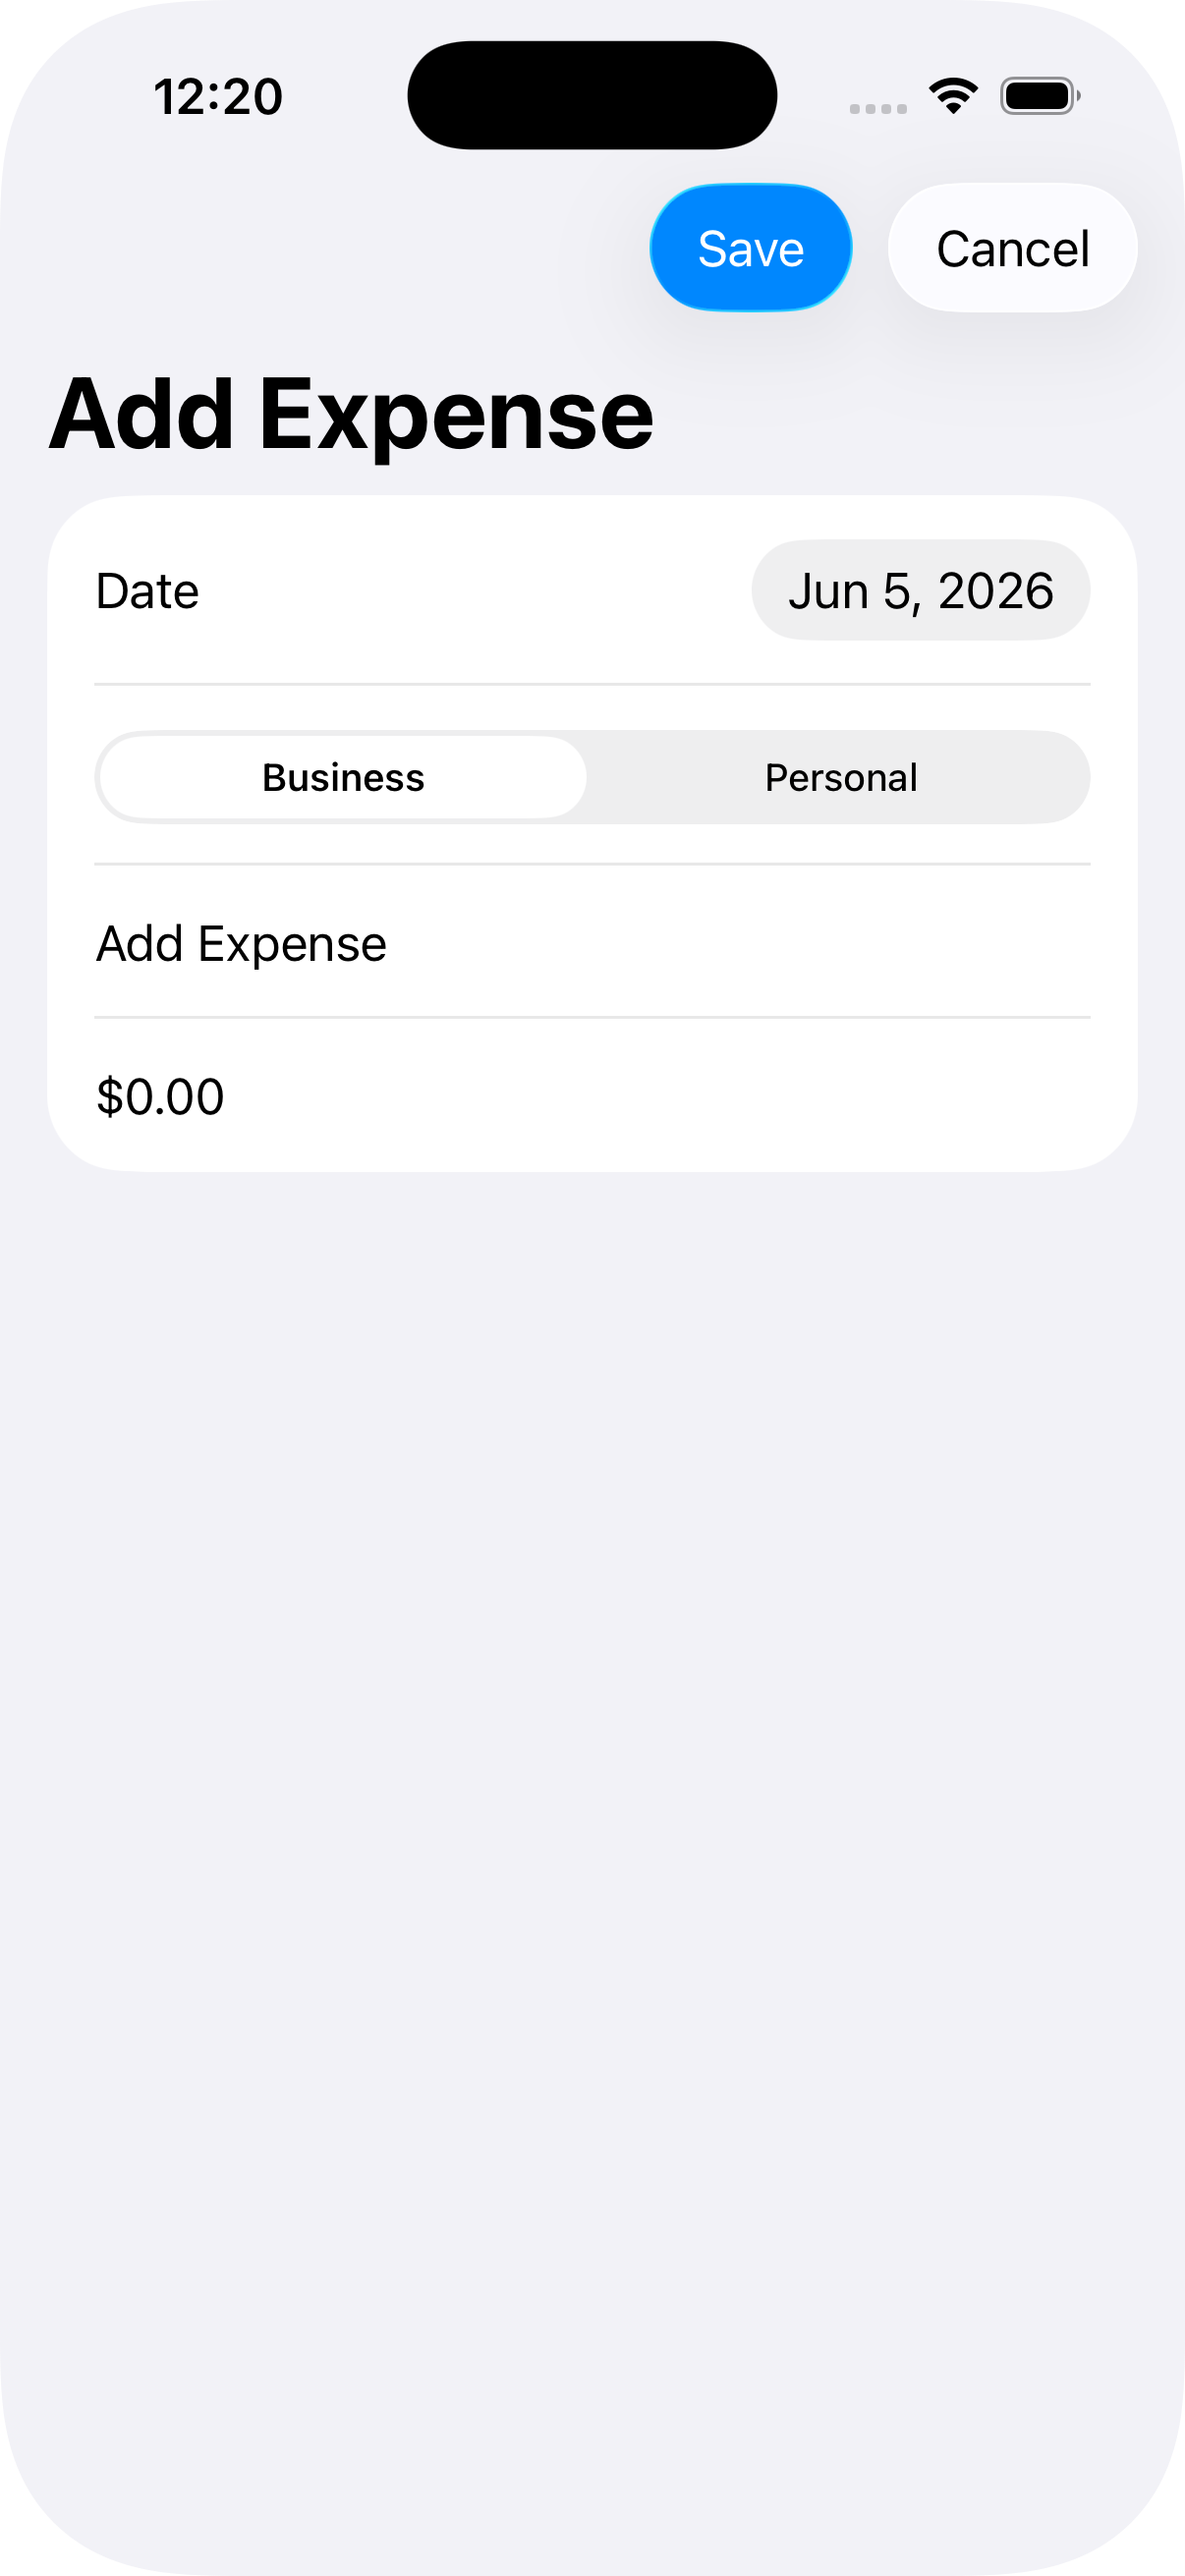
- Change project 7 (iExpense) so that it uses NavigationLink for adding new expenses rather than a sheet. (Tip: The dismiss() code works great here, but you might want to add the navigationBarBackButtonHidden() modifier so they have to explicitly choose Cancel.)
First I restructured the layout so I don’t have to have two separate sections. Then I spent some time figuring out how to color the two sections differently. Then I got some help from the internet with making a hex-color-to-rgb converter.
I don’t quite understand why I would use NavigationLink when .navigationDestination is there and requires the least amount of changing. I just replaced .sheet with .navigationDestination and it worked.
The second part of Challenge 1 is to
- hide the back button using
.navigationBarBackButtonHidden() - add a cancel button to the toolbar
I added role: .cancel to the cancel button (and role: .confirm to “save”)
- Try changing project 7 so that it lets users edit their issue name in the navigation title rather than a separate textfield. Which option do you prefer?
I”m thinking that this is some other “project 7”? But I think it means to move the “Item Name” to the navTitle.
I did it by adding .navigationTitle($name) to the Form (and commenting out the TextField) and I must say I don’t like it very much. Too many clicks! So I put it back 🙃
- Return to project 8 (Moonshot), and upgrade it to use NavigationLink(value:). This means adding Hashable conformance, and thinking carefully how to use navigationDestination().
This one I don’t understand at all. We already use NavigationLink?
I’m calling this done, if not complete. This is one of the problems with following long-ago-created tutorials, I can’t ask clarifying questions.