100 Days of SwiftUI
2026-06-26
Project 11, part 1
Bookworm: Book tracking app — SwiftData! Custom UI Component!
Creating a custom component with @Binding
@Bindingis not the same as@Bindable@Bindableis for a shared class using the@Observablemacro@Bindingis for a simple value-type piece of data rather than a separate class
He goes through an example that creates a separate button view that toggles a boolean and then some text in the ContentView reads that and makes a change.
as far as the button is concerned it’s just toggling a Boolean — it has no idea that something else is monitoring that Boolean and acting upon changes
Accepting multi-line text input with TextEditor
- for longer text input than
TextField - can bind to
@AppStoragebut beware that it’s not secure - in some situations you can use modifiers on
TextField(especially theaxis: .vertical) to let the thing grow vertically - try it and see!
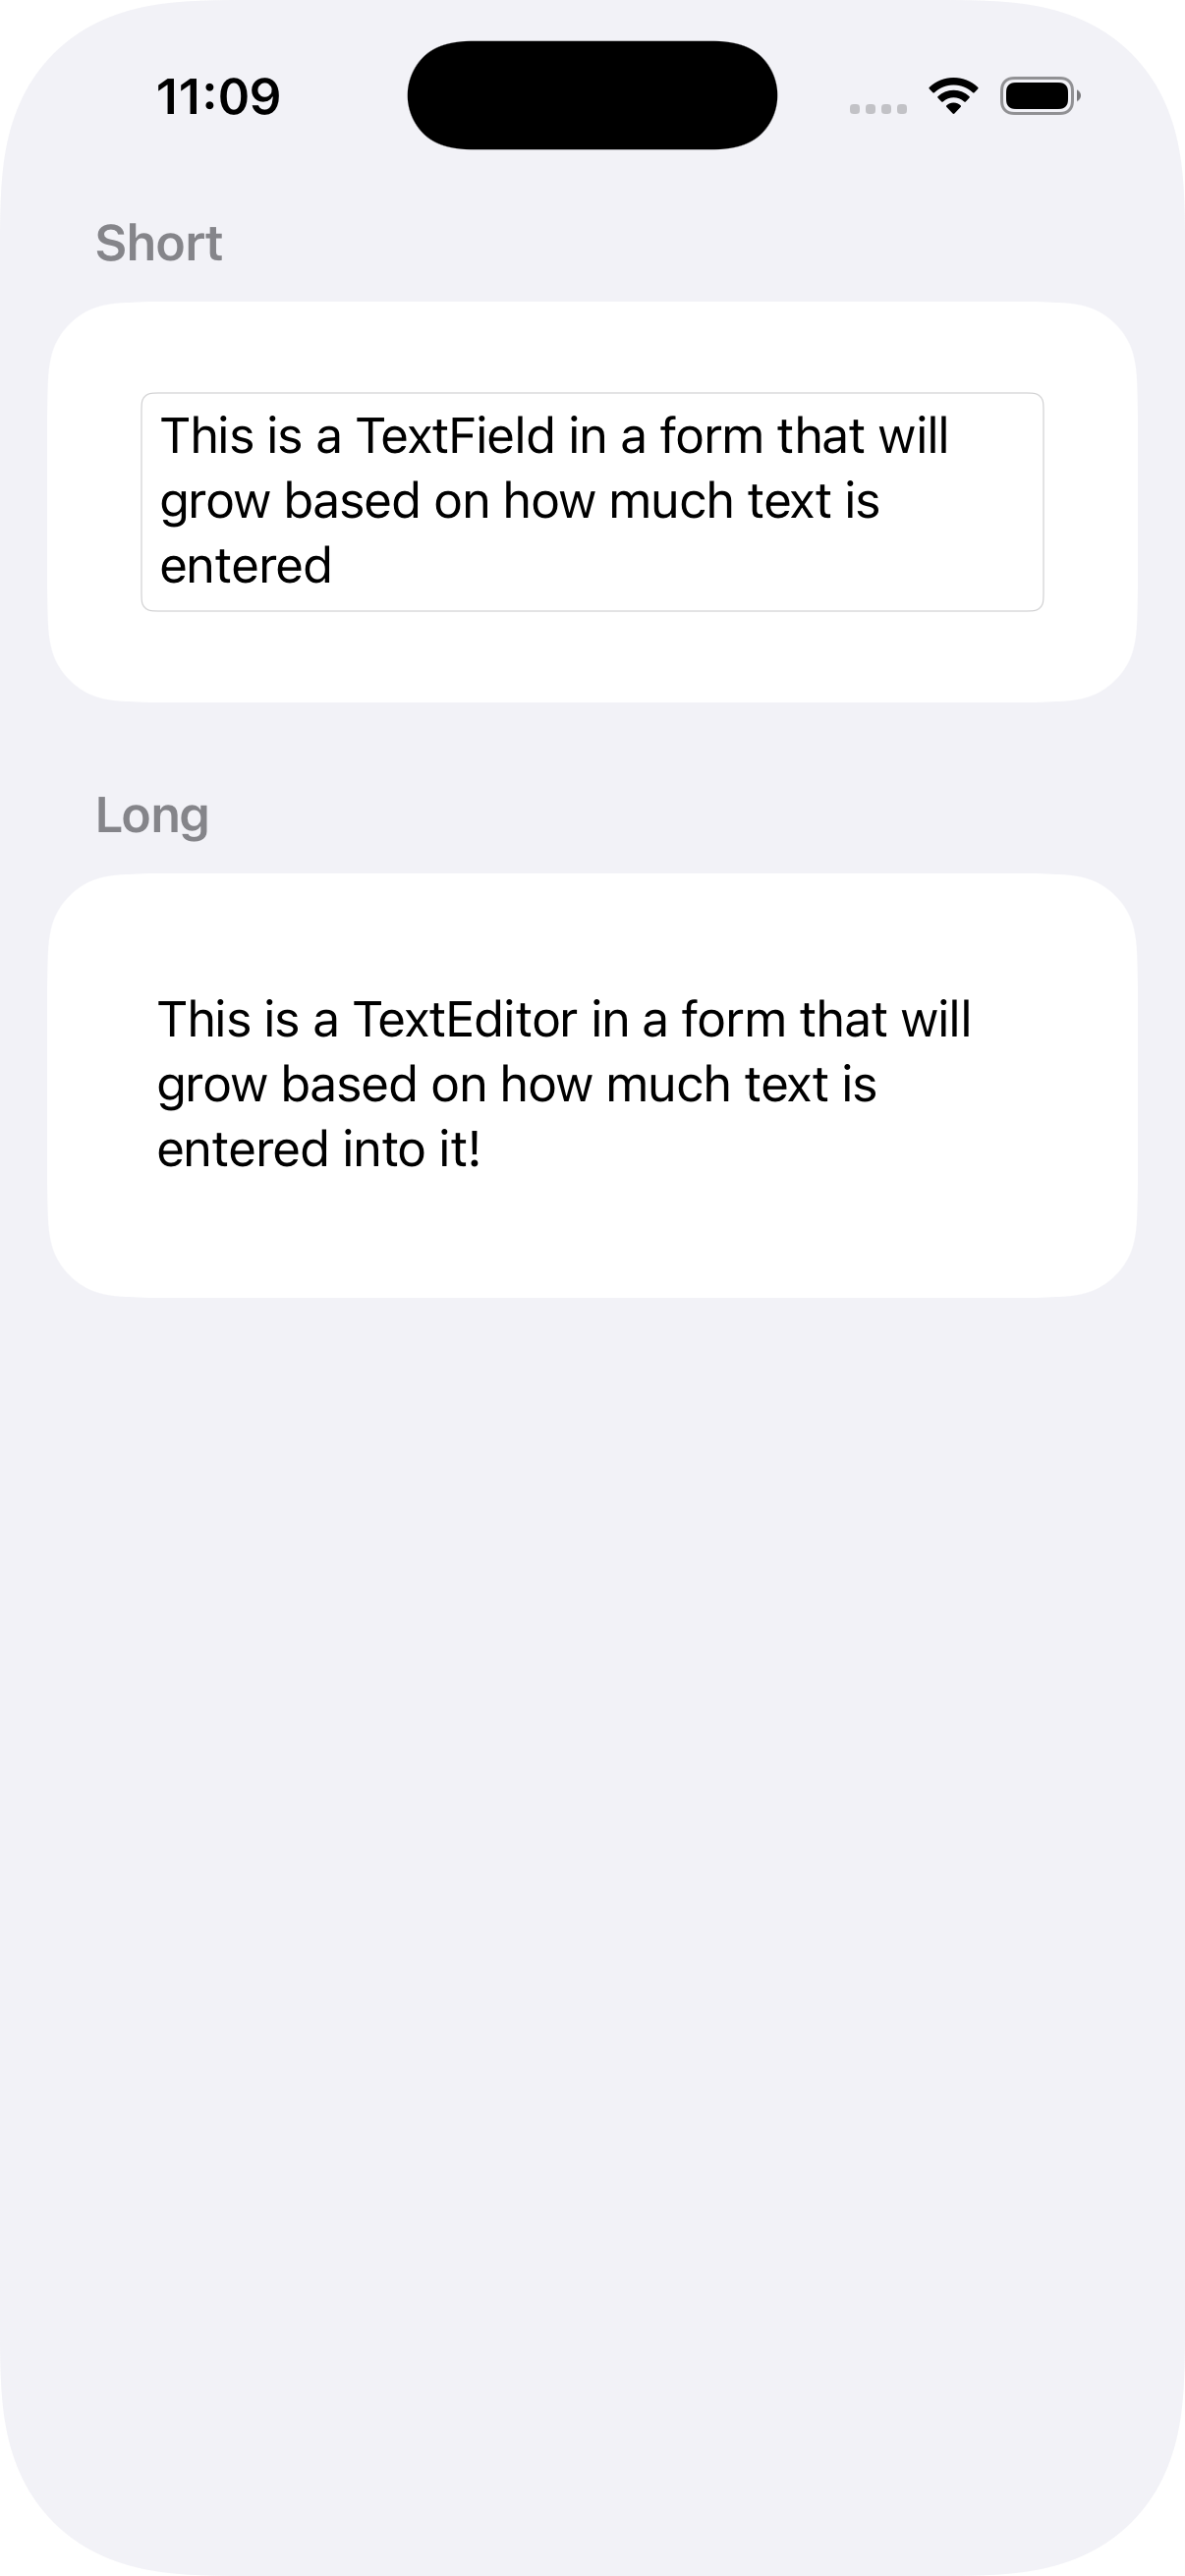
Form
var body: some View {
    Form {
        Section("Short") {
            TextField("Enter your text", text: $short, axis: .vertical)
                .textFieldStyle(.roundedBorder)
                .padding()
        }
        Section("Long") {
            TextEditor(text: $long)
                .padding()
        }
    }
}
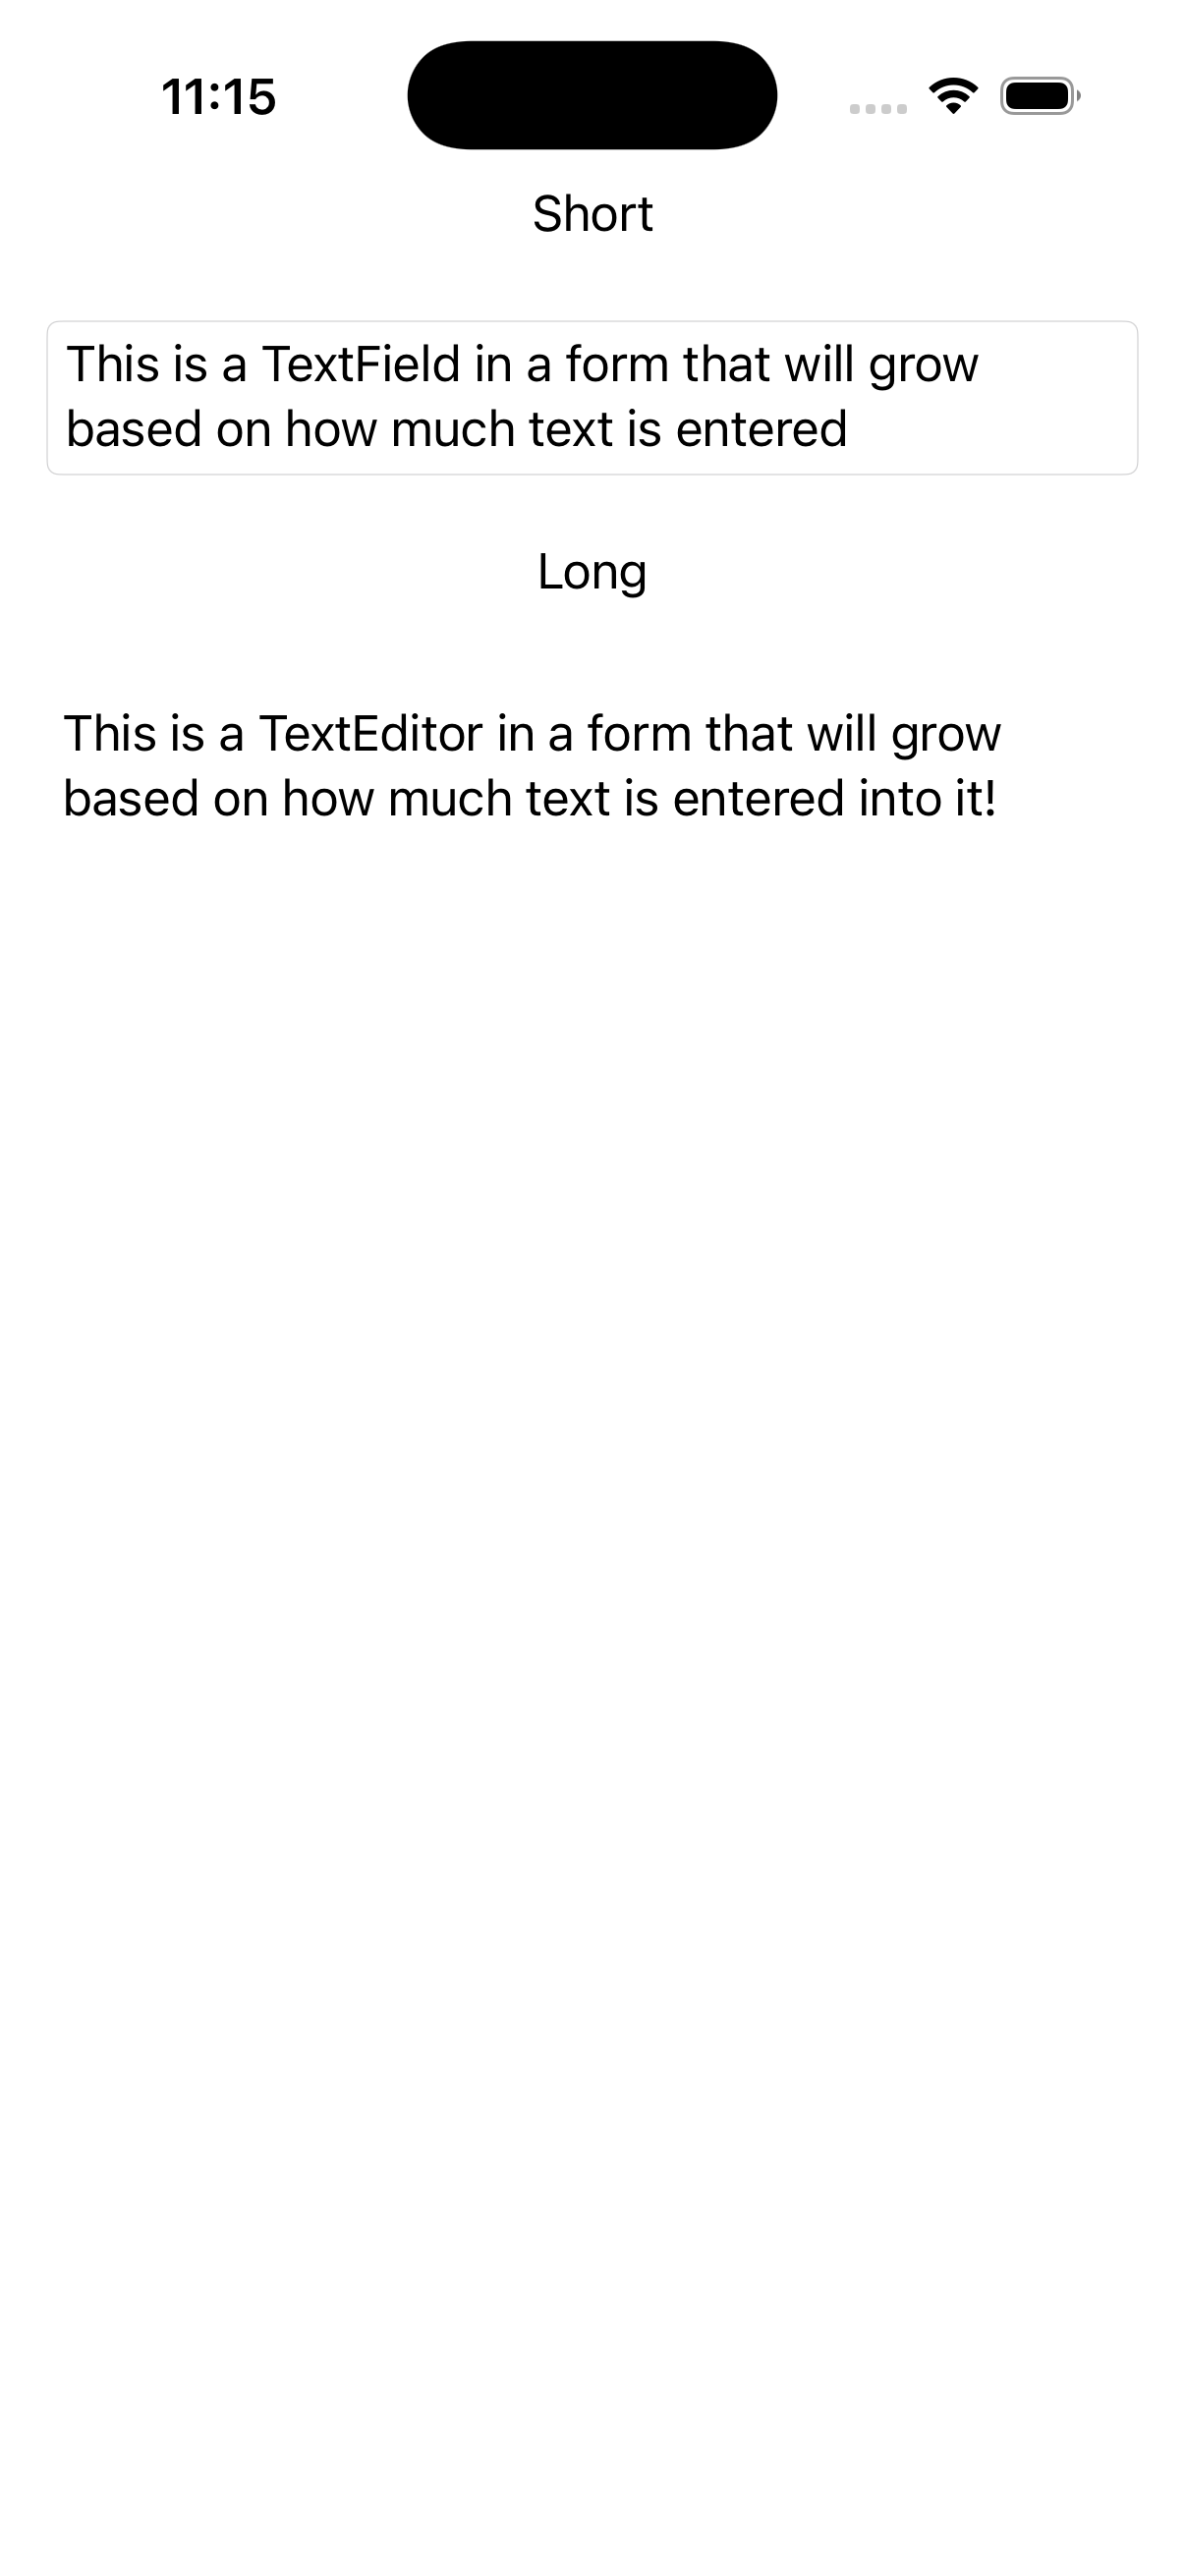
Stack
var body: some View {
        NavigationStack {
            Section("Short") {
                TextField("Enter your text", text: $short, axis: .vertical)
                    .textFieldStyle(.roundedBorder)
                    .padding()
            }
            Section("Long") {
                TextEditor(text: $long)
                    .padding()
            }
        }
    }
Introduction to SwiftData and SwiftUI
- more advanced than
UserDefaults - can do iCloud syncing, etc.
- takes 3 steps to implement
- define the data we want to use in the app
- write some code to load the data (tells SwiftData to prepare some storage)
- create the model context, which is the live data in memory
OK. I see that I will need to revisit this. It seems simple enough — just adding a few lines here and there — but we all know that “seems simple” is usually more complicated than you ever expected.