Lumen prints
Lumen prints use an alternative photographic process that seems a bit “so what?” when it’s described: Take a piece of darkroom paper out of its package, and place stuff on it like you would a photogram. Then put the paper and its stuff outside in the sun for a while. Let it cook until you can’t stand it anymore — anywhere from a few minutes to a few hours to several months. Then fix the paper and finish it as you normally would.
That’s it. It is similar to a “sun print” (aka cyanotype) in that the exposure is made outside of a darkroom. However, the only chemistry you need is fixer1 and there’s no need to paint solution onto the paper. Better yet, until you try it, you’ll never realize that your regular darkroom paper has all sorts of hidden color.2
But enough words, here are some pictures…
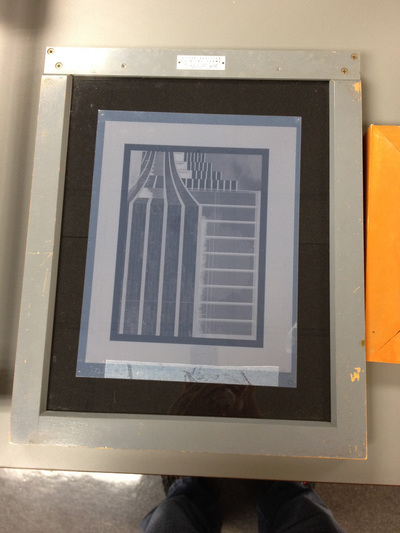
CMA Lumen (begin)
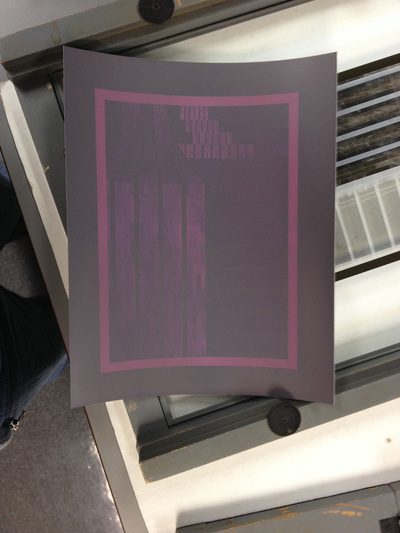
CMA Lumen (exposed)
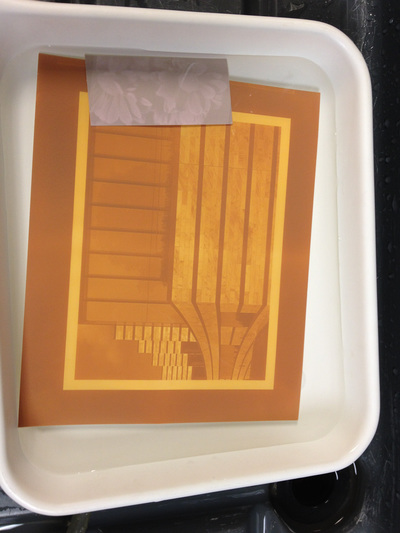
CMA Lumen (fixed)
I took my trusty CMA digital negative and placed it in a contact frame with Ilford Warmtone Fiber paper, and let it sit at a window for an afternoon (about 4 hours sun). The warmtone paper started out yellowish, then shifted to blue with the light. Then the next day I had it directly in the sun for about 2 hours, then fixed it using Kodak Rapid Fix Part A 1:7. The result after fixing was pretty stunningly orange/red.
Then, on a different afternoon, I set up another image (again using Ilford Warmtone) with a single cut stalk of a plant with tiny yellow flowers on it. I put it in the late afternoon sun (in a window) and the following morning fixed it with Ilford Rapid Fix 1:4 (as recommended by Ilford).
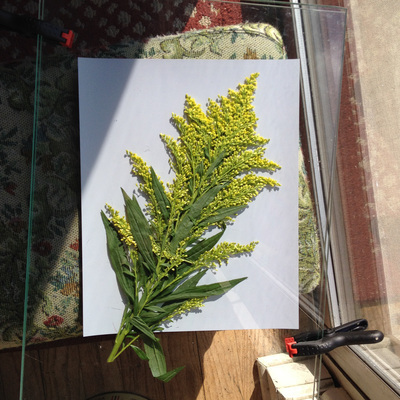
Flower Lumen (begin)
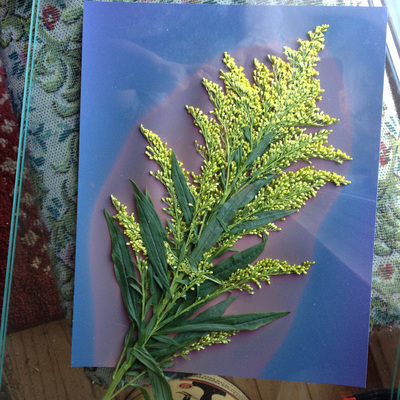
Flower Lumen (in progress)
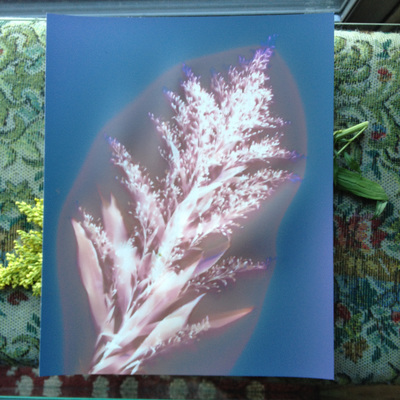
Flower Lumen (exposed)
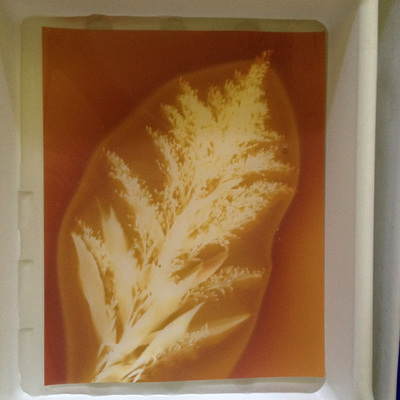
FLower Lumen (fixed)
As you can see, the pre-fixed image (the 3rd one) is really interesting and has a lot of depth to it. I’m not sure if the fixed version (4th image) seems flatter because it is sitting in water, or if it’s a result of the fixing. In any case, I’m really interested in doing more of this type of image — as long as I’m using materials with some possibility of chemical interaction with the paper. I like the contact version with the digital negative, but I adore the plant one.